A Web Developer’s Tale of the Octapad Revival
Two months ago, I was tasked with presenting a talk on the Web MIDI API to an amazing crowd of music-loving web developers. Obviously, I wanted the presentation to be exciting, so my first idea was to find a cool MIDI controller that I could use to demo the API with. What kind of controller could fit the bill? What about an old… keytar? Yes, that would be awesome! Nobody’s using those anymore so they will be dirt cheap, right? So I hit eBay and here’s what I found…
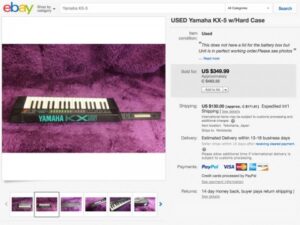
An original Yamaha KX-5 carefully laid out on purple velvet. It couldn’t get any more perfect than that, could it? But wait, are they really asking 350$ for it? Plus 130$ for shipping! That’s 500$ US dollars… which means about 630$ in Canadian dollars! Whoaaa, there is no way I’m spending that kind of money on a 45-minute presentation.
What then? Hmmmm.
This is when I remembered the era before I became a web developer when drumming was my whole life. More importantly, I remembered that I already had a cool MIDI controller in my possession: my good old Roland Octapad II. The Octapad is an eight pad percussion controller made by Roland starting in the 80s. How about using that for the demo? That would be cool. But where on Earth did I put this thing? After a few hours of searching, I finally found it hidden in the garage. I plugged it in and it powered up. Oh yeah! I started playing it and then I realized that time had taken its toll. No matter how hard I stroked the pads, the hits barely registered. Damn, this thing is busted. Should I be surprised? After all, this device is at least 25 years old and has been sitting in a damp garage for over 10 years.
But still, it would be so cool to use it for the conference demo. So I started digging around on the Internet to see if this thing could be revived somehow. After an hour or so of reading outdated forum posts and barely-related blog articles, I stumbled upon a post from this guy who said the problem is easy to fix. The piezos are dead he said. Just get new ones and you will be good to go. What have I got to lose, right?
A bit of Googling tells me that piezos are simple vibration-sensitive sensors, precisely the kind you would expect in a percussion controller. Because I had no idea what kind or size of piezos I should buy, I decided to open the unit up. Surprisingly, this was very simple. All it took was a Phillips screwdriver and I was in.

I soon realized that it was a good idea to first check inside. Being an 8-pad controller, I was expecting to buy 8 piezos. However, as you can see on the picture above, 10 piezos are needed. I’m guessing the extra 2 are used to counter any crossover that could happen between the pads through the casing. Furthermore, opening it allowed me to measure the size of the piezos. In the end, I ordered twelve 35mm piezos from Digikey. I bought an extra 2 to be on the safe side.
While getting inside the unit wasn’t hard, getting to the piezos was a little bit harder. As you can see, two of the piezos are hidden under a board which needs to be removed in order to gain access to them. As a matter of fact, the whole unit pretty much needs to be dismantled to be able to extract the old piezos and put in the new ones. If you are attempting this operation, I urge you to do as I did and take pictures all the way through the operation. This way you will know which screws (there are various types and lengths), connectors and daughterboards go where. I’m soooo glad I did!
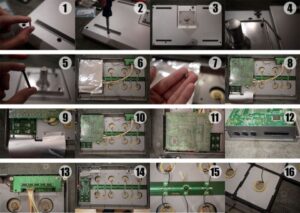
The dismantling operation wasn’t hard but I was extra careful in the way I handled all the various pieces. I didn’t want to lose anything or forget where something was going. Then, at one point, I realized that the only way to go further was to actually desolder the piezos from the central board strip (a.k.a. Pad-8 Sensor Board). This was the point of no return. As you can see in the picture below, in order to remove the sensor board and get to the pads, you must desolder the piezos, there’s no way around it. So I did.
Note that all the white wires are connected to the board’s center strip while the black wires have their own strip leading to separate cables on the left side. This makes sense: one common ground for all and separate signal wires for each pads.
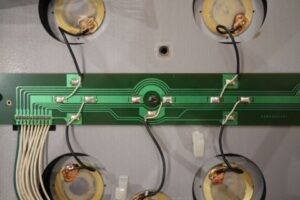
Once the sensor board is removed, you can unglue the piezos from the pads. This can be quite scary. Especially when all you are left with is a pile of dead piezos and the conviction that you are never going to be able to put all this back together…
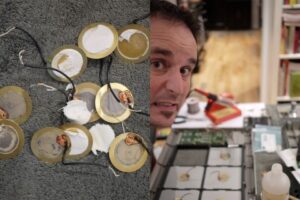
As you can see above, the piezos are affixed to the pads using some sort of double-sided tape. I had no idea which kind of tape was appropriate so I bought Scotch-Brand 3M 1″ Permanent Mounting Squares (cat. 111C). If you use them, you will want to trim the corners of the squares so they fit snuggly inside the center circle of the piezo. The idea is for the outer ring to vibrate freely.
Obviously, you also need to solder the new piezos to the sensor board. The piezos I bought came with short and flimsy wires which I did not trust. So I opted to use sturdier wiring. I had some speaker wires on hand so I used that. Just be sure to make the right connections. The inside ring of all piezos should be connected to the shared central strip on the sensor board while the outer rings of each piezos should be connected to their own individual strip. In the end, my soldering job was a bit messy but I made sure the connections were solid and not touching other conductive strips (this is very important!).
I then put the Octapad back together, plugged it in and crossed my fingers… Guess what? It worked. In fact, it might now be working better than ever before. Nice.

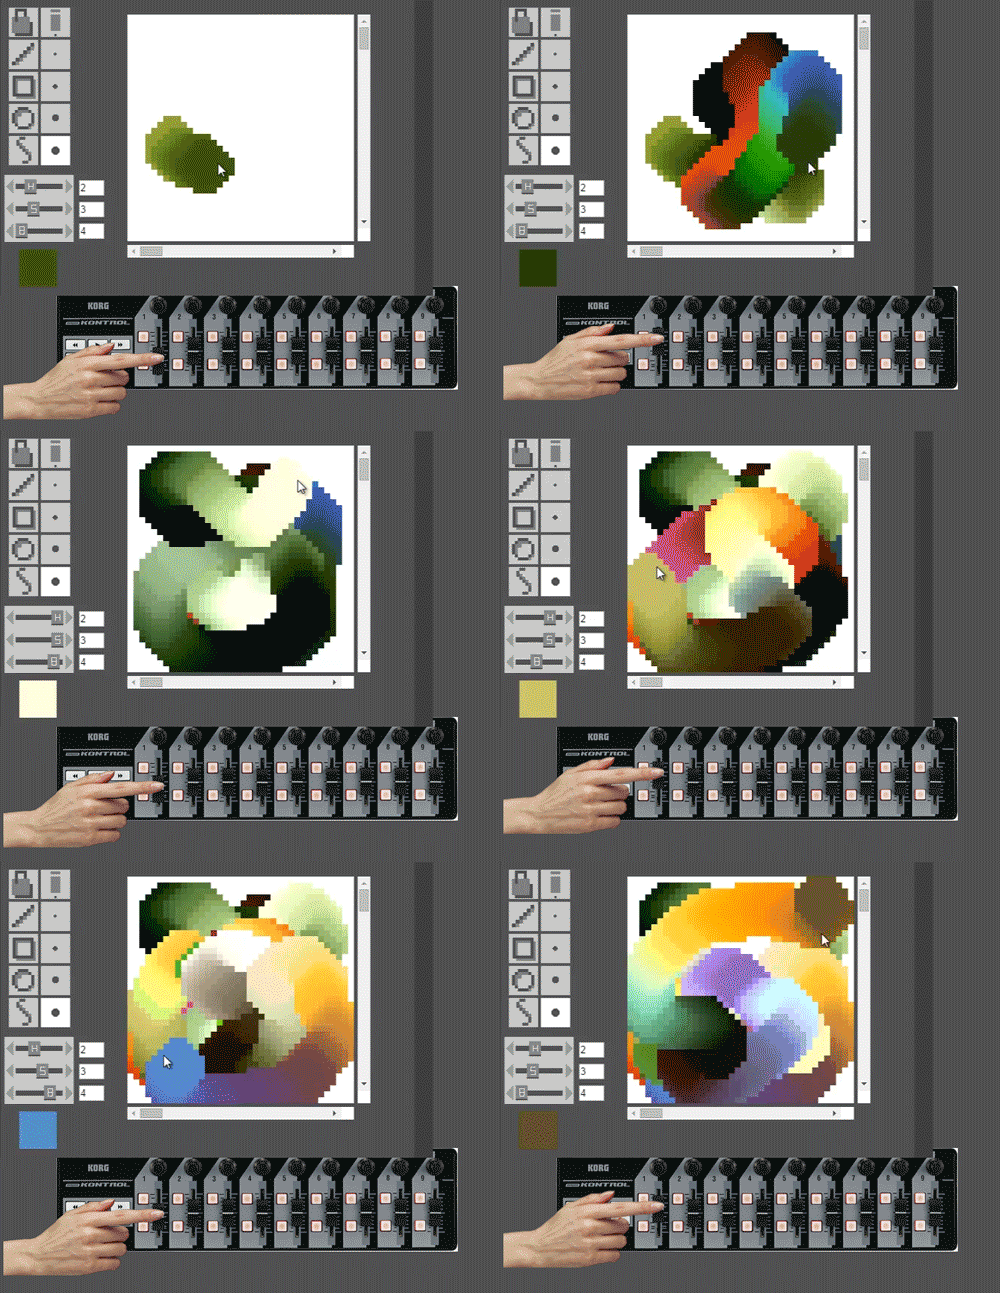
Obviously, I used it during my talk and I had a blast. Attendees also had a great time witnessing how a 25 y/o piece of hardware (brought to this world before the Internet was even invented) could trigger sounds and visuals inside a web page running in Google Chrome.
The moral of the story, I guess, is that well-designed and proven technologies can, and often do, withstand the test of time. They might need a little love along the way but don’t we all?
If you are musician paying the bills doing web development work, I urge you to dust off your old MIDI devices and hook them up to your browser. You will be amazed at what can be done with the Web MIDI API. If you are curious to know how this is possible, check out the library I created that makes it very easy to use the Web MIDI API. You can also take a look at the slides from my presentation.